01 / Workflow
Start with the decision the scene will support.
A building owner might want a remote team to understand the shape of a property. A project team might want to discuss the relationship between work areas. A designer might want reference data in a particular application. Those are examples of possible uses, not a reason to promise one universal model. Before planning capture, name the viewer, the question and the finished format.
Also distinguish existing-condition capture from proposed design visualization. A reconstruction represents what was visible during capture. A rendered proposal may add an imagined building, finish or future condition. If both are part of an assignment, label them clearly and keep the source of each element understandable. A polished image should not obscure what was observed and what was proposed.
02 / Workflow
Know what kind of 3D file you are asking for.
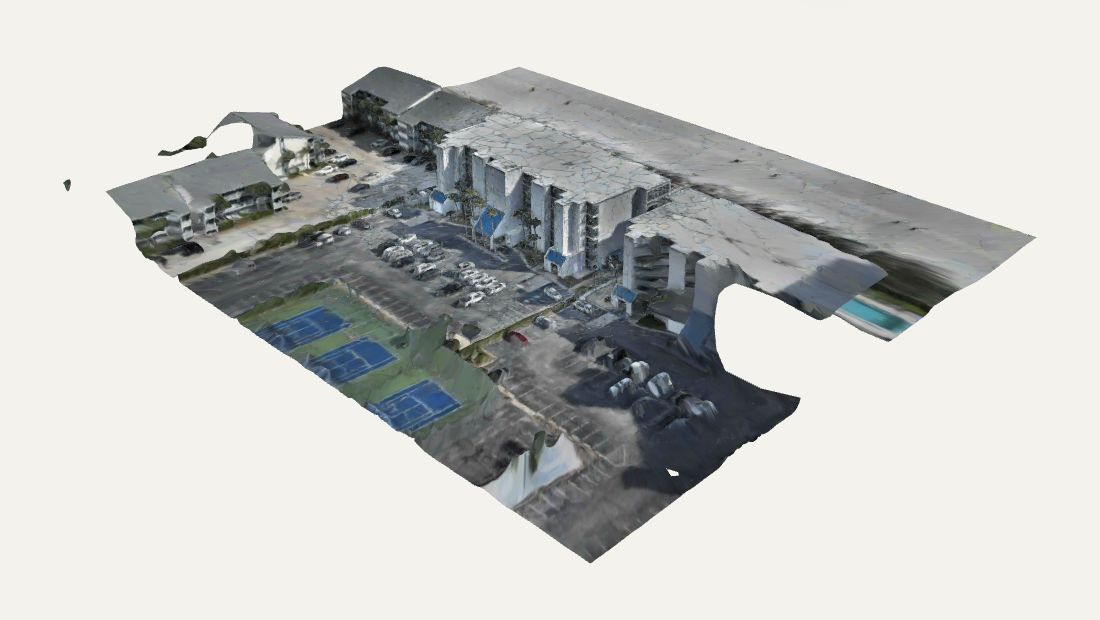
Photogrammetry turns overlapping photographs into a reconstruction. A mesh represents surfaces; a point cloud provides a collection of spatial samples. A Gaussian splat emphasizes a convincing view of the scene. Polycam distinguishes its photogrammetry mesh mode from its appearance-oriented splat mode; the two should not be treated as interchangeable measurement products.
Choose the handoff by its job. A browser presentation may need to load quickly and guide a nontechnical viewer. A downstream technical workflow may need geometry, scale and a specific import format. An attractive fly-through can complement those files, but it does not explain their accuracy. Ask for the output and the checks that fit the intended use, rather than simply requesting “a 3D rendering.”
Sources: Polycam: Photogrammetry meshes and Gaussian splats · DJI Enterprise: Mapping deliverables and reconstruction overview
03 / Workflow
Capture the surfaces that matter to the story.
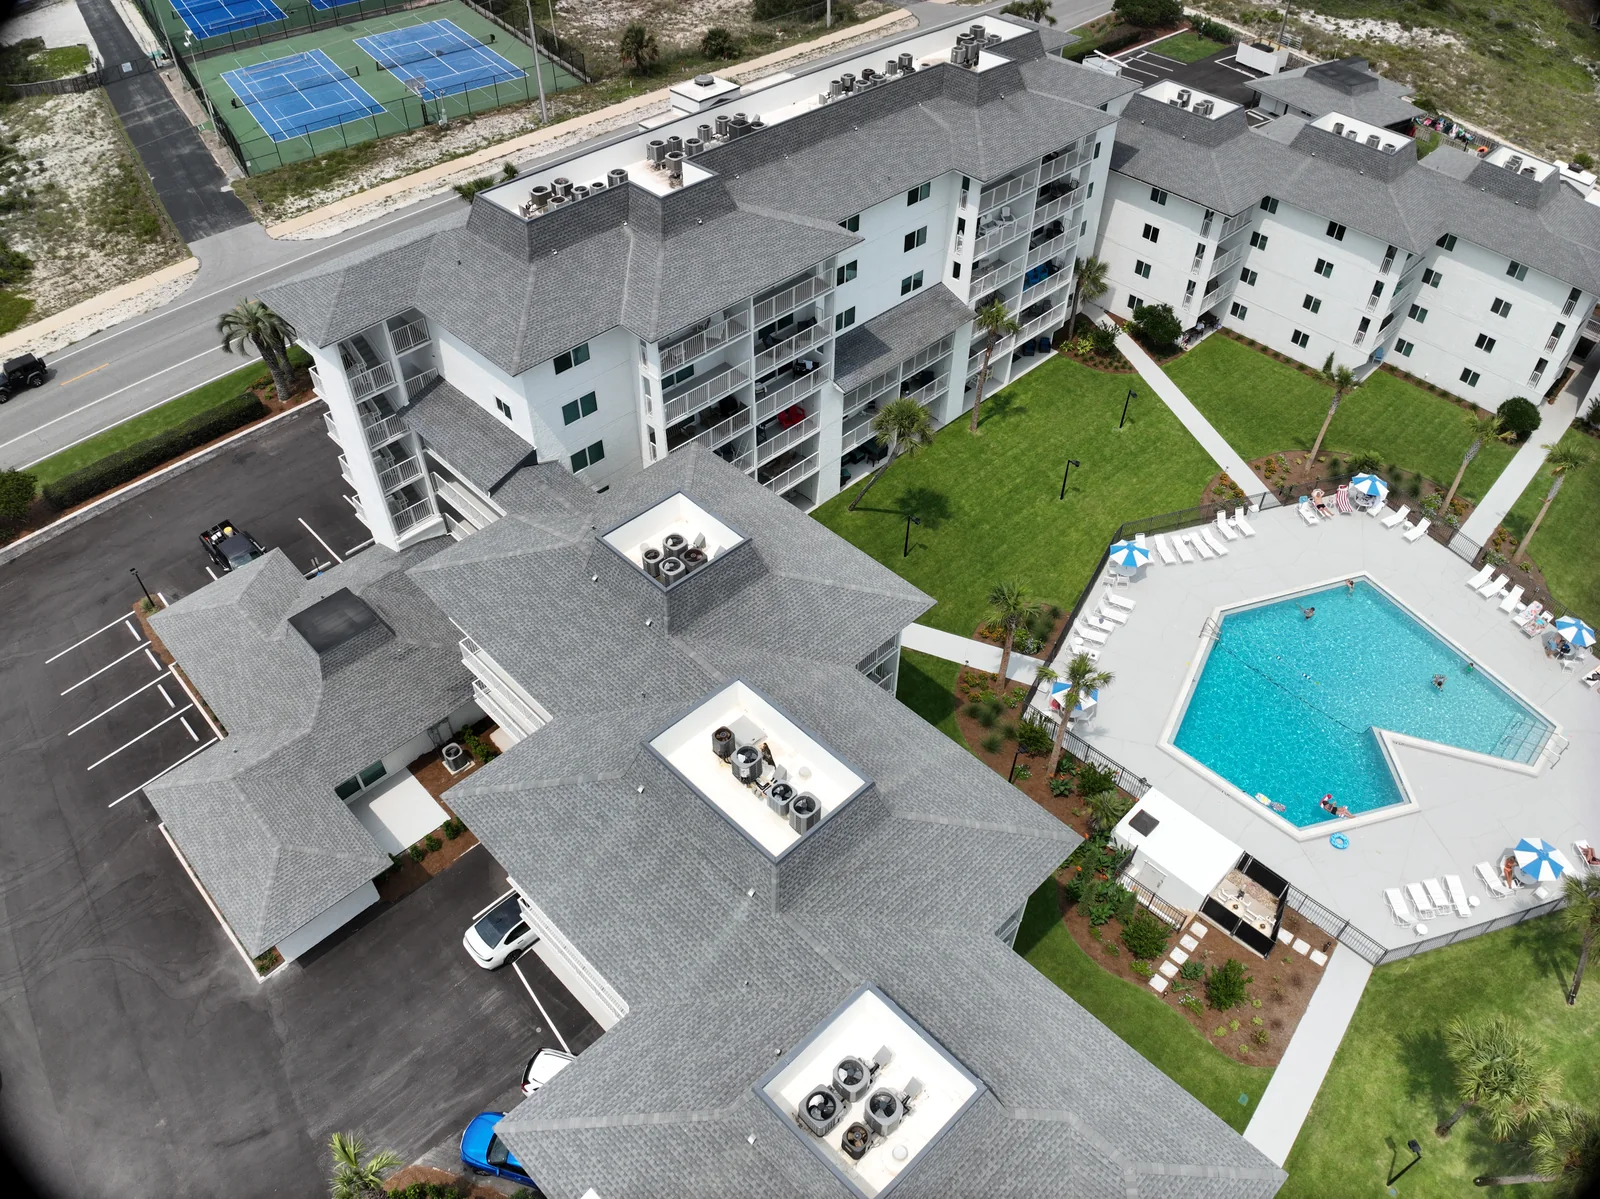
A top-down image set explains the footprint differently from angled views of walls, roof edges and other vertical elements. Polycam’s drone guide distinguishes these capture patterns. The customer can help by identifying priority surfaces and areas that are hidden, restricted or outside the scope before a flight plan is prepared.
A proposed capture brief should include the subject boundary, access, likely obstructions and the smallest feature the reviewer needs to see. Discuss whether exterior context is enough or whether additional ground-level material is needed. Keep that extra work explicit. A model cannot reveal a surface merely because the camera flew nearby, and missing coverage should be documented rather than disguised with an attractive viewing angle.
Source: Polycam: Creating drone 3D models
04 / Workflow
Keep a traceable path from originals to presentation.
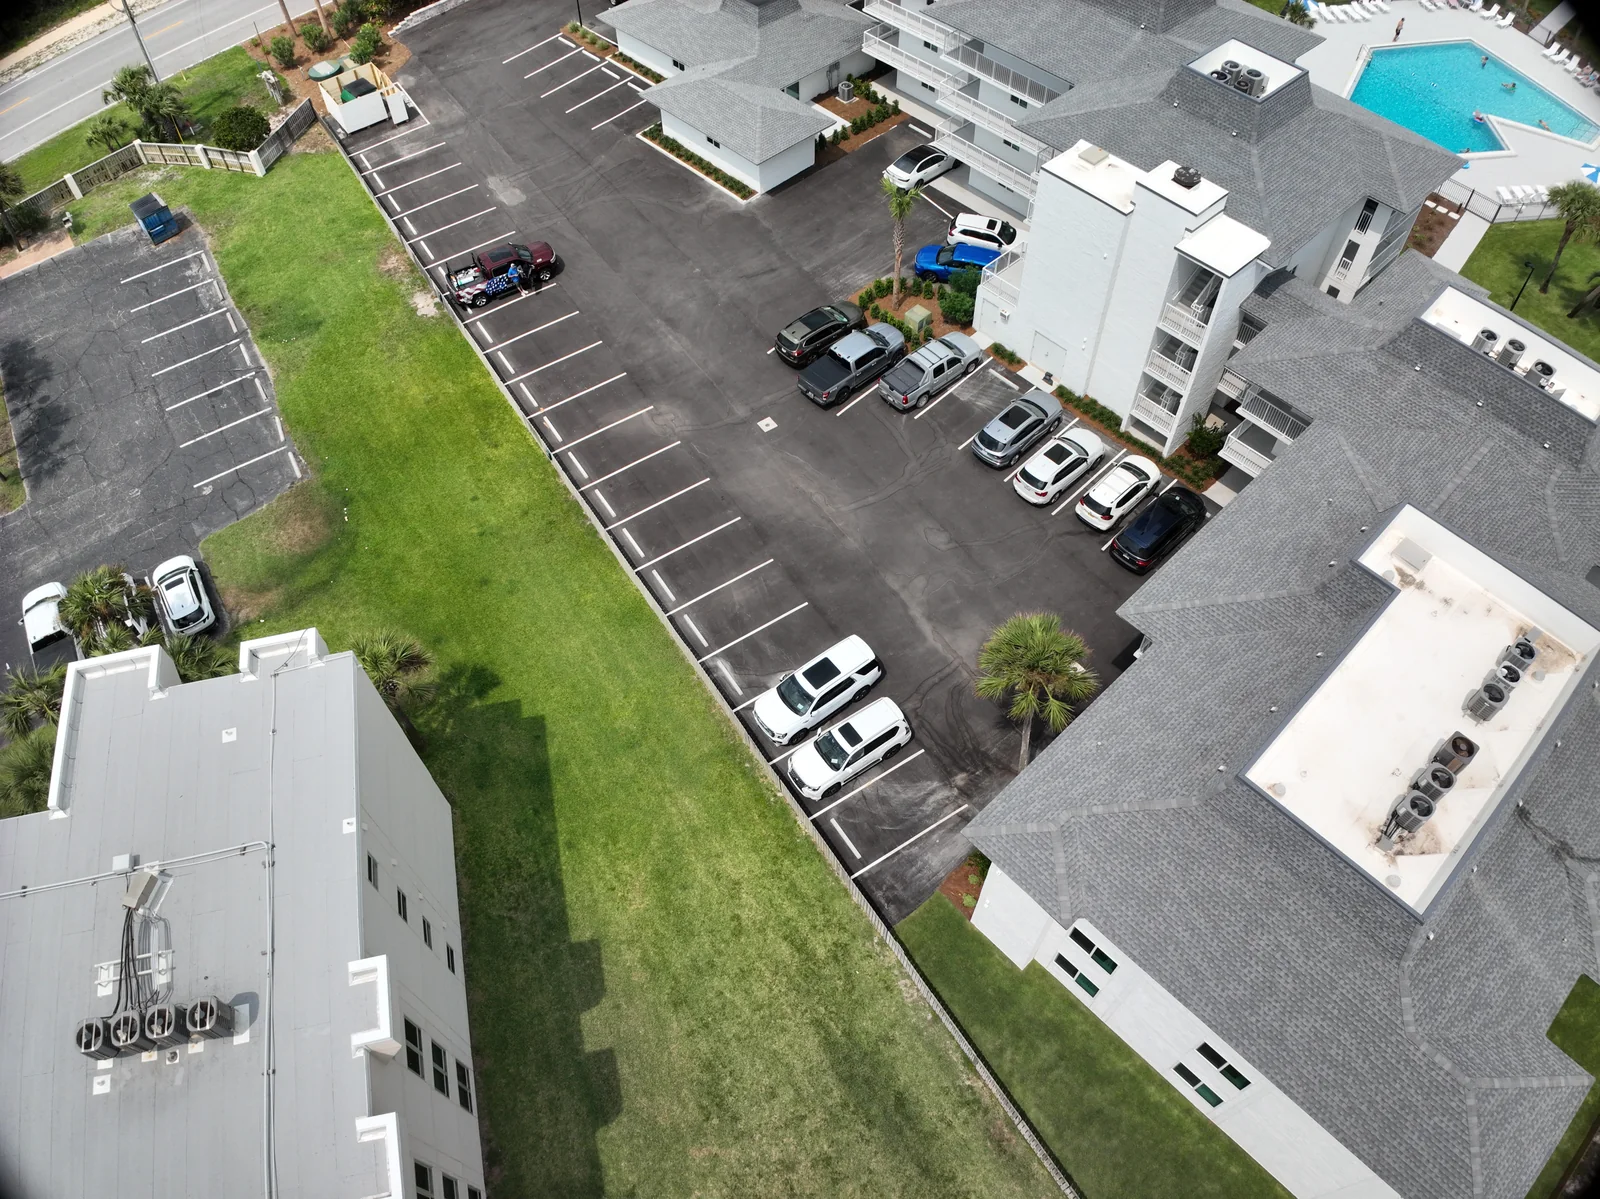
Treat the original image collection as the source record. For a project workflow, use a clear capture-date folder, a selected processing set and a separate delivery folder. A reviewer should be able to tell which version was used, what was excluded and which product is ready for use. The public website copy of a photograph is a presentation derivative; it should not become the only remaining processing source.
Before a large assignment, discuss a representative pilot area. A small trial can reveal whether the proposed camera views, processing route and handoff work for the recipient. It also lets the team inspect a real result before deciding on wider coverage. Licensing, processing resources and hosting or sharing arrangements belong in that scope discussion.
05 / Workflow
Review more than the opening view.
Rotate through the agreed areas and inspect the details that matter to the brief. Look for missing surfaces, implausible bridges between objects, smeared textures and a scene orientation that could confuse the recipient. If a model is intended for measurement, validate scale and coordinates with a separately agreed checking method. Record limitations in plain language beside the files.
A useful acceptance review also tests the receiving application. Open the actual export, confirm units and orientation, and check that required textures or companion files travel with it. A file extension alone does not guarantee the receiving program will interpret the scene as expected. If a lightweight viewing copy is supplied, explain its relationship to the primary deliverable so a simplified presentation is not mistaken for the full technical dataset.
06 / Workflow
Brief the deliverable before commissioning capture.
Tell Fly Maxwell the location, approximate subject size, surfaces of interest and intended audience. Name the application or viewing method, preferred file type and whether dimensional checks are required. Include the deadline and who can coordinate access. If you are unsure which output fits, explain the decision you want the scene to support.
Possible scope items include a selected capture set, a proposed textured model, an agreed export or a presentation sequence. They are confirmed in the proposal, including processing and sharing arrangements. The goal is a scene your team can use with confidence about its purpose and limits.
VERIFY THE DETAILS / KEEP EXPLORING
Sources & further reading
Original explanation by Fly Maxwell. Technical and regulatory details are linked to the responsible organizations below. Product features, software plans and operating rules can change; check the current source when planning a project or a flight.
- Photogrammetry meshes and Gaussian splats Polycam · reviewed October 8, 2026
- Mapping deliverables and reconstruction overview DJI Enterprise · reviewed October 8, 2026
- Creating drone 3D models Polycam · reviewed October 8, 2026
Manufacturer specifications describe the product under stated conditions. They are not a promise of project accuracy, flight duration, target detection or a particular outcome.