Choose the question before the map.
A site overview, a planning layer and a measurement-based product need different levels of control. Explain who will use the result, the area to cover and the software it needs to work in.
 FLY MAXWELLAERIAL IMAGERY + THERMOGRAPHY
MAP / FLY MAXWELL
Plan overlapping aerial capture and map-based documentation around the way your team needs to understand a site. Start with the intended use, coverage and quality checks.
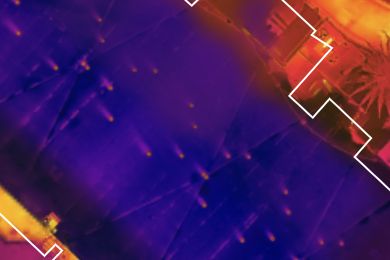 ACTUAL 2D MAP · THERMAL DETAIL
FLY MAXWELL / PROCESSED 2D THERMAL LAYER · DETAIL
A site overview, a planning layer and a measurement-based product need different levels of control. Explain who will use the result, the area to cover and the software it needs to work in.
Suitable overlapping images, positioning, reconstruction and review all contribute to the output. Discuss orthomosaic imagery, coordinate systems and file formats before capture; a single overhead photograph is not a map.
Ground sampling distance describes image detail, not positional accuracy. Measurement-based work needs appropriate control, independent checks and a stated method. Licensed surveying or engineering work is scoped with the relevant qualified professional.
COMPLETED WORK / EXPLORE IN 3D
Go beyond a single photograph. Explore our completed visible-light and thermal-palette property reconstructions, with practical context on what each view can help your team understand.
Explore our real 3D captures ↗Original Fly Maxwell work. Interactive models open when you choose them.
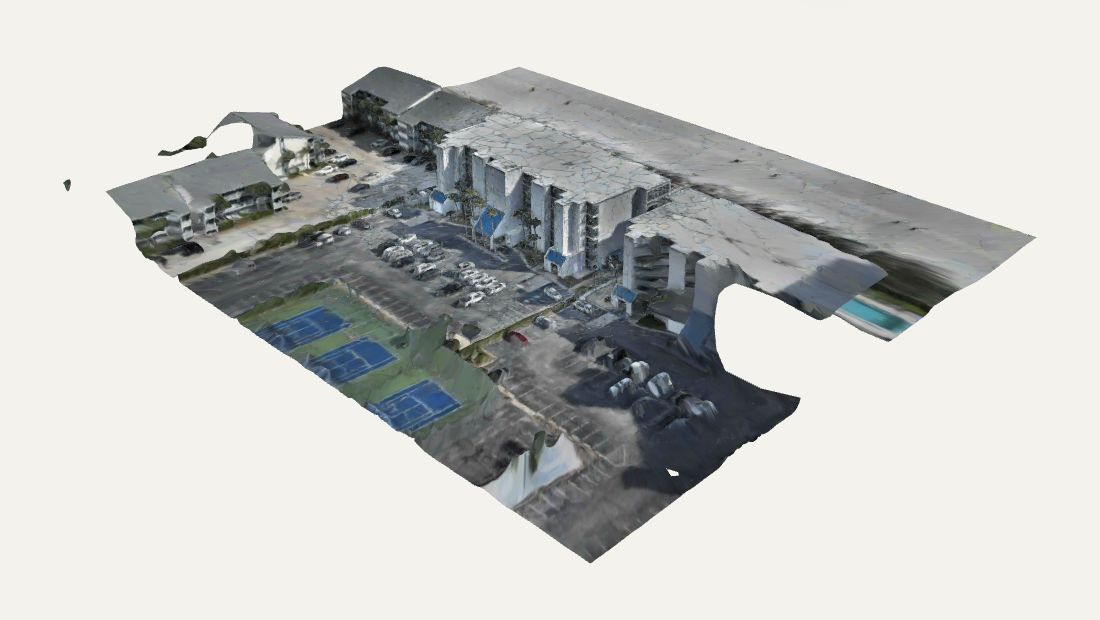 VISIBLE CAPTURE → CONNECTED SCENE ↗
CAPTURE → CONTEXT → A USEFUL RECORD
Bradley uses Liberty Shield Hub to connect property imagery, 3D viewing resources, thermal documentation and reviewed reports. See how that workflow helps the next conversation—and the next visit.
Follow the property-record workflow ↗Portal access, reports and recurring visits are agreed for your project.
Photographs, video and agreed specialist imagery
Property areas and available 3D viewing resources
Visible context, thermal documentation and observations
An approved record for the intended audience
Inspection history and a brief for the next visit
FROM OUR ORIGINAL CAPTURE ARCHIVE
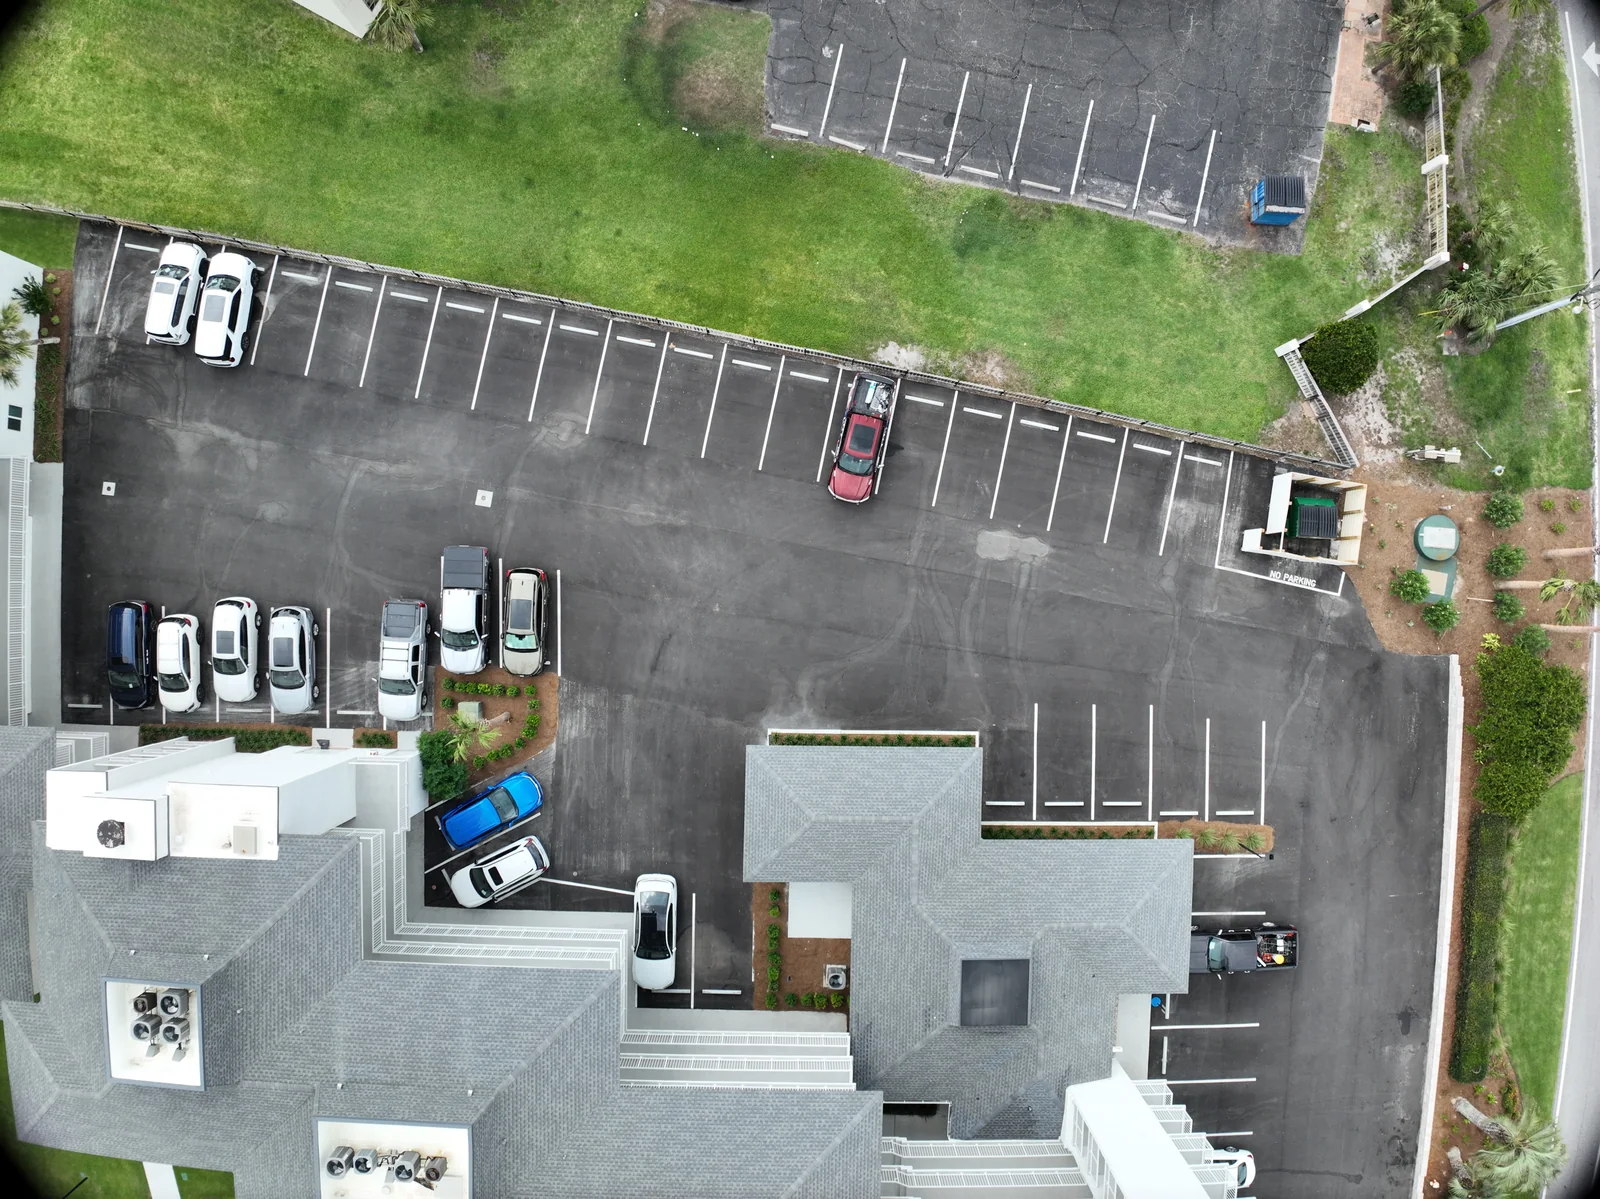
These are original source photographs from our property capture series. Explore how overhead and angled views connect with the workflow.
Explore the capture sequence ↗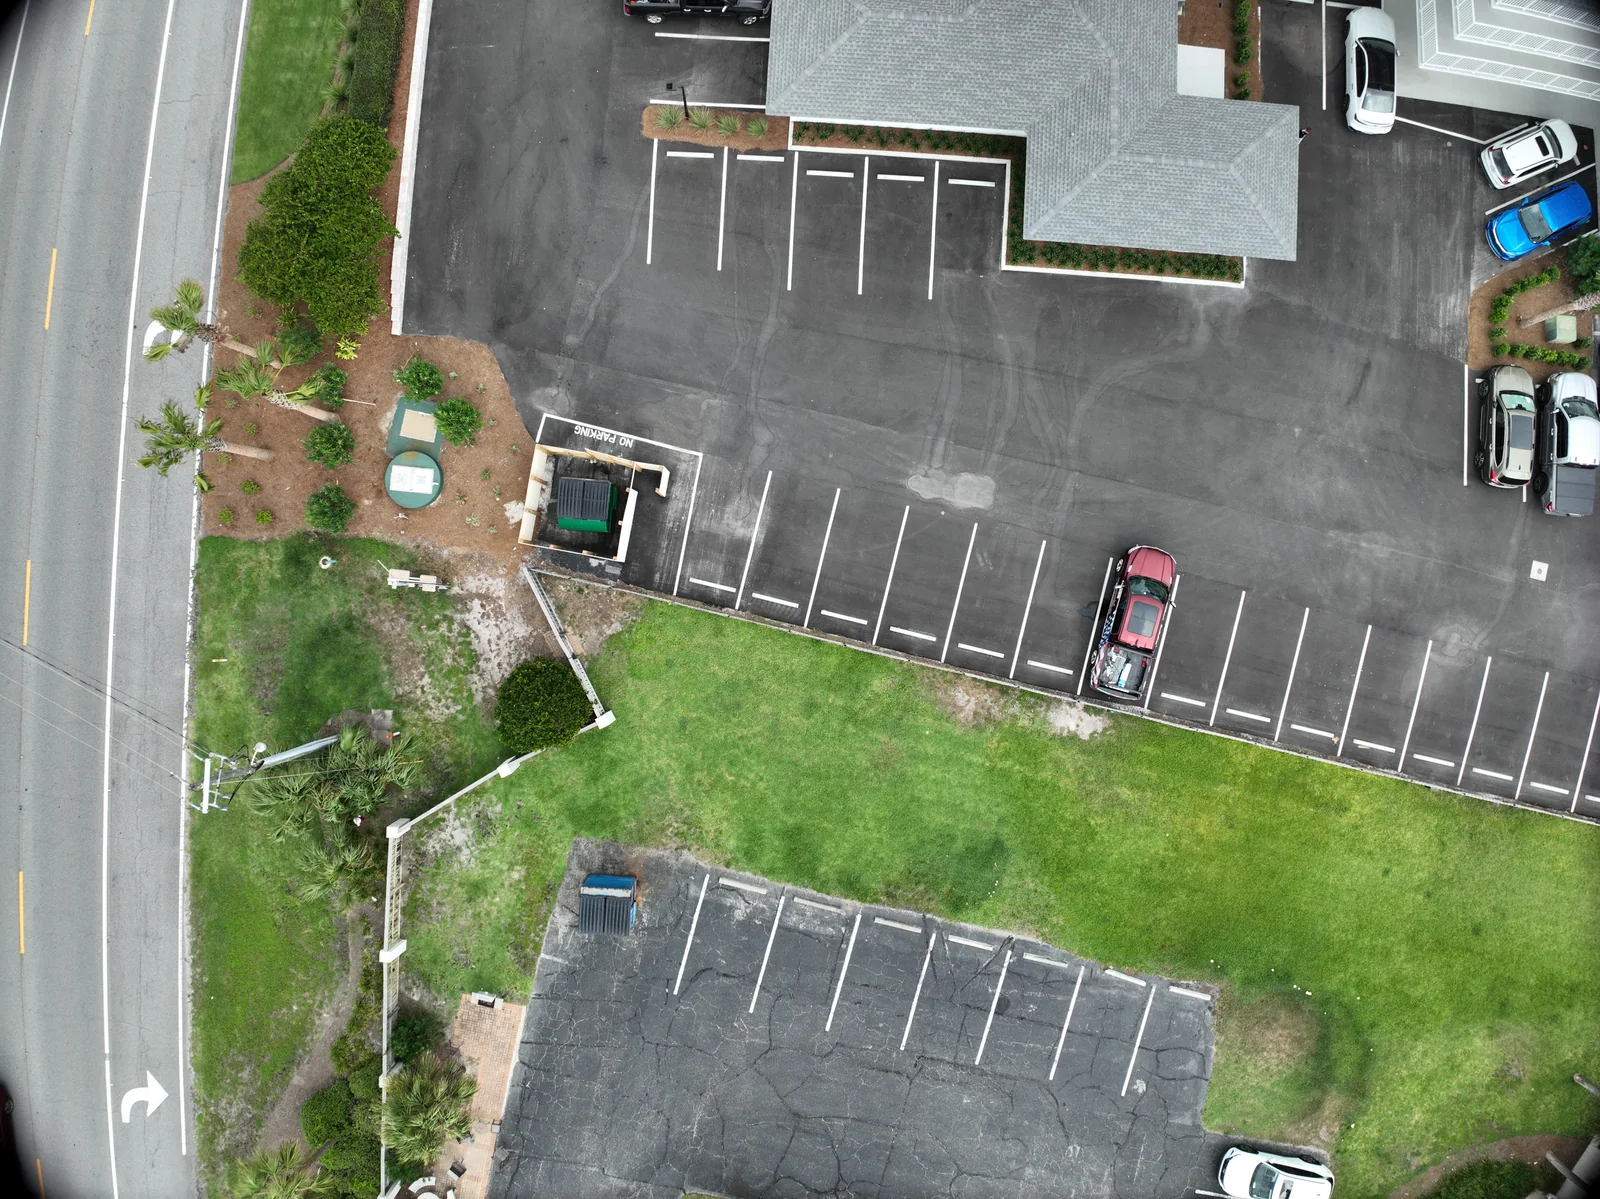
UNDERSTAND THE WORK / PLAN WITH CONFIDENCE
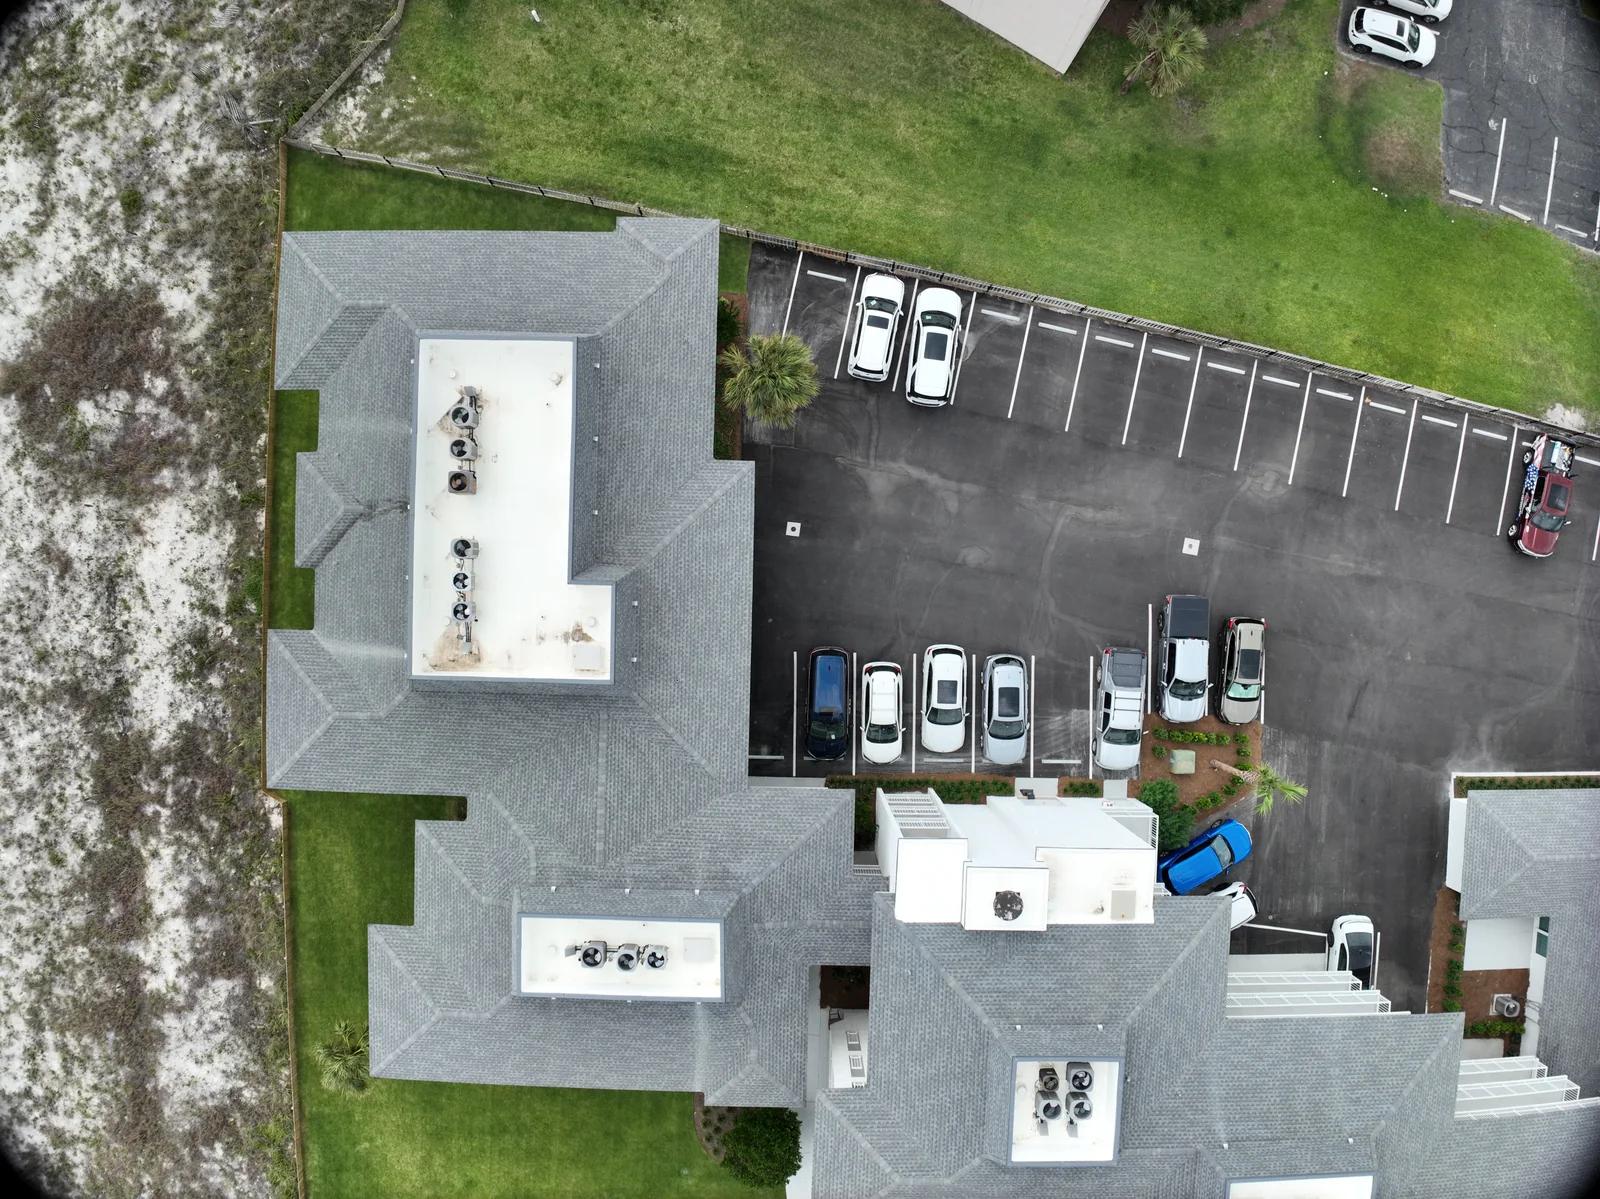
The featured image is a detail of our processed 2D thermal layer. The visible outline is a model footprint, not a property boundary. Capture photographs are labeled separately. No calibrated temperature dataset, diagnosis or survey accuracy is implied; deliverables and validation are agreed for the assignment.
THE NEXT MOVE IS YOURS
Share the location, purpose and timing. We’ll discuss feasibility, deliverables and travel.